• Home
  • Servers
  • Hosting Tutorials
    • cPanel&WHM
  • WordPress Tutorial
    • WordPress General
    • WooCommerce
    • Useful Plugin

Subscribe to Updates

Get the latest creative news from FooBar about art, design and business.

What's Hot

WordPress Two-Factor Authentication (2FA): what is it & using it on your site

January 26, 2023

The biggest source of WordPress vulnerabilities

January 26, 2023

15 ways to secure your WordPress site

January 19, 2023
Facebook Twitter Instagram
  • Home
  • Servers
    Featured
    Servers

    What Is Imunify360? How Does It Enhance Website Security?

    By The GeekJanuary 2, 20230
    Recent

    What Is Imunify360? How Does It Enhance Website Security?

    January 2, 2023

    How to set up a Raspberry Pi ownCloud server in 7 steps

    December 20, 2022

    How To Install Linux, Nginx, MySQL, PHP (LEMP) stack On CentOS 7

    December 20, 2022
  • Hosting Tutorials
    1. cPanel&WHM
    Featured
    Hosting Tutorials

    What is Let’s Encrypt SSL certificate

    By The GeekDecember 26, 20220
    Recent

    What is Let’s Encrypt SSL certificate

    December 26, 2022

    What Is Web Hosting? What Is Shared Hosting?

    December 26, 2022

    How to install cPanel on CentOS 7

    December 22, 2022
  • WordPress Tutorial
    1. WordPress General
    2. WooCommerce
    3. Useful Plugin
    Featured
    Usefull Plugin

    WordPress Two-Factor Authentication (2FA): what is it & using it on your site

    By The GeekJanuary 26, 20230
    Recent

    WordPress Two-Factor Authentication (2FA): what is it & using it on your site

    January 26, 2023

    The biggest source of WordPress vulnerabilities

    January 26, 2023

    15 ways to secure your WordPress site

    January 19, 2023
Facebook Instagram
Horizen.ro – Tech Blog & Server environmentHorizen.ro – Tech Blog & Server environment
Subscribe
  • Home
  • Servers
    Featured
    Servers

    What Is Imunify360? How Does It Enhance Website Security?

    By The GeekJanuary 2, 20230
    Recent

    What Is Imunify360? How Does It Enhance Website Security?

    January 2, 2023

    How to set up a Raspberry Pi ownCloud server in 7 steps

    December 20, 2022

    How To Install Linux, Nginx, MySQL, PHP (LEMP) stack On CentOS 7

    December 20, 2022
  • Hosting Tutorials
    1. cPanel&WHM
    Featured
    Hosting Tutorials

    What is Let’s Encrypt SSL certificate

    By The GeekDecember 26, 20220
    Recent

    What is Let’s Encrypt SSL certificate

    December 26, 2022

    What Is Web Hosting? What Is Shared Hosting?

    December 26, 2022

    How to install cPanel on CentOS 7

    December 22, 2022
  • WordPress Tutorial
    1. WordPress General
    2. WooCommerce
    3. Useful Plugin
    Featured
    Usefull Plugin

    WordPress Two-Factor Authentication (2FA): what is it & using it on your site

    By The GeekJanuary 26, 20230
    Recent

    WordPress Two-Factor Authentication (2FA): what is it & using it on your site

    January 26, 2023

    The biggest source of WordPress vulnerabilities

    January 26, 2023

    15 ways to secure your WordPress site

    January 19, 2023
Horizen.ro – Tech Blog & Server environmentHorizen.ro – Tech Blog & Server environment
Home»cpanel&whm»How to install cPanel on CentOS 7
cpanel&whm

How to install cPanel on CentOS 7

The GeekBy The GeekDecember 22, 2022Updated:January 6, 2023No Comments5 Mins Read
Facebook Twitter Pinterest LinkedIn Tumblr Email
xsofthost cpanel article
Share
Facebook Twitter LinkedIn Pinterest Email

Table of Contents

  •  What is cPanel?
  • Why CentOS7?
  • Minimum Resource Requirement To Install cPanel
  • Connect To Putty.
  • Pre-requirements Of cPanel Installation
    • 1- Update Centos 7
    • 2- Installing Perl
    • 3- Installing Curl
    • 4- Add Hostname
    • 5- Disabling Network Manager Service
    • 6- Installing cPanel With trial License
  • Purchase, Verify And, Update The cPanel License
  • FAQ

 What is cPanel?

cPanel, as its name implies, is a web control panel. Cpanel provides you with the ability to manage Linux-based hosts. This control panel provides users with a wide range of features and as a result, it has formed the greatest hosting control panel.
Users can create and manage their email addresses in cPanel, as well as control domains, databases, various versions of PHP, and almost all aspects of a web server.

As a result, this powerful control panel makes it possible to manage all of your hosting services in one place. cPanel was developed by a company of the same name and in the Perl programming language.
cPanel is a great, customizable control panel, which has done well over time and has a professional and active team behind it, which is a great help to cPanel users.

The cPanel’s reputation, popularity, and widespread use are due to its simple and understandable user interface so that everyone learns only once as a result.

Why CentOS7?

As you may know, CentOS 8 is released but there are some problems with installing cPanel, At the moment that I write this post, CentOS 7 is the most reliable and most compatible operating system to install cPanel. Here we provide cPanel/WHM VPS with CentOS with a reasonable price trial/license.

Minimum Resource Requirement To Install cPanel

  • a Linux VPS with Centos 7 operating system
  • 1 GB RAM
  • 1 core CPU 1.1 GHz
  • 20 GB Storage
  • Static IPv4

Connect To Putty.

You can use the topic about how to connect to putty for more details.

Pre-requirements Of cPanel Installation

Note: Before installing, I should mention that once you copied the commands, you can paste them by right-click inside SSH connection (Putty).

1- Update Centos 7

Use this command to update the server before installing cPanel:

yum update

You will be asked yes or not that you should type y and press enter to proceed with the update.

2- Installing Perl

Perl is the language that cPanel has been written with.
Run the following command to make sure that Perl is installed on the server.

yum install perl

3- Installing Curl

The Curl is required to download the Cpanel installation script, the Curl can be installed by the following command:

yum install curl

4- Add Hostname

Cpanel requests for a hostname which should be in (FQDN) Fully Qualified Domain Name format. For example, in this topic, we will use myserver.mydomain.com and instead of this, you should put your own hostname.
Here is the command to set it:

hostnamectl set-hostname myeserver.mydomain.com

5- Disabling Network Manager Service

Network Manager service is used to connect computers with each other, cPanel asks to remove this service or also we can disable it when installing cPanel.

service NetworkManager stop
chkconfig NetworkManager off

Remember to enable this service once the installation was completed with the below commands.

service NetworkManager start
chkconfig NetworkManager on

6- Installing cPanel With trial License

You can use this code to install cPanel.

cd /home && curl -o latest -L https://securedownloads.cpanel.net/latest && sh latest

Based on the resources of your server, the installation may take about an hour to 2 hours.

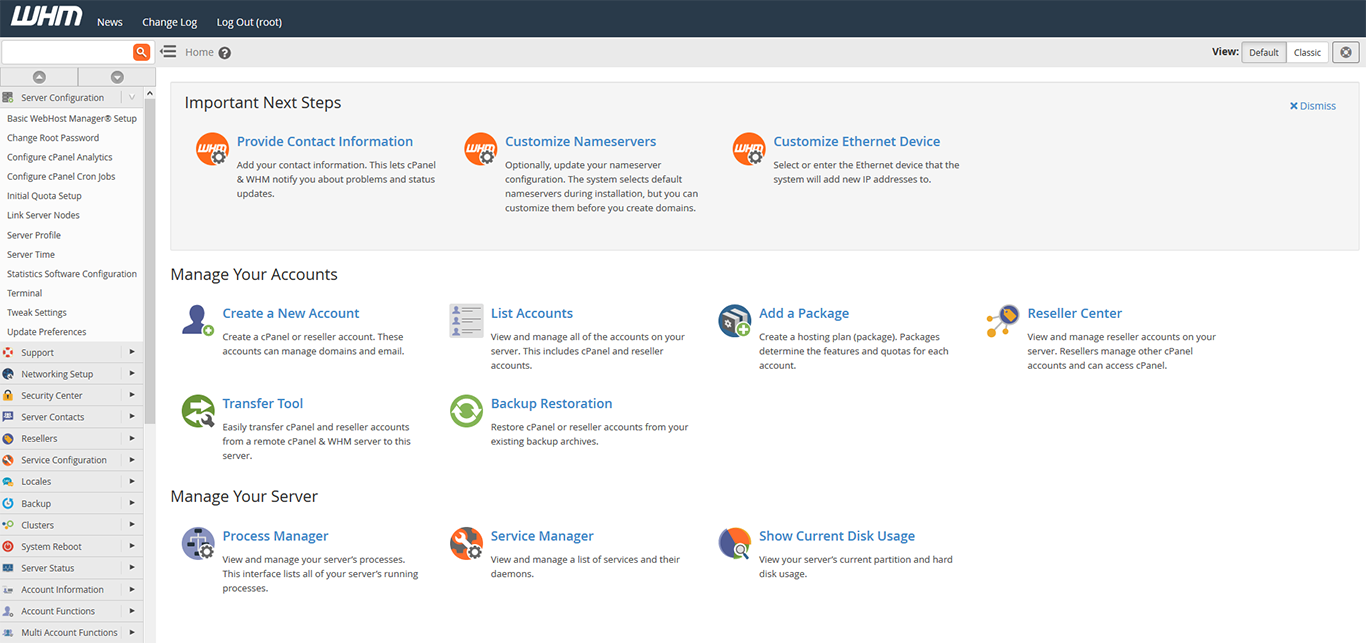
Once the installation was completed you will face the login URL to login into WHM / Cpanel.

URL to login to the admin panel of cPanel: https://serverIP:2087

Username to log in to the admin panel of cPanel: It is the root or the username that you use instead of root.

The password to login to the admin panel of cPanel: It is the password of your server.

cPanel

Purchase, Verify And, Update The cPanel License

  • Purchase cPanel License.

You can order for a cPanel license through the licenses page of our website.

  • Verify the cPanel License.

If you wish to verify that your license has been activated successfully or not, you can use the cPanel verify system.

  • Update cPanel License.

Once you ordered a license, you should run this command inside your server and as a result, the license will be updated.

FAQ

  • Is cPanel free?

It has a free trial for 15 days but after that, you should order for a license.

  • How long does cPanel take to install?

It is related to the resources of your server. In VPS servers it takes about 1 to 2 hours but in a dedicated server, it takes about 15 minutes.

  • How do I know if cPanel is installed?

it can be checked through this command: usr/ local/cPanel/cPanel-V

  • How do I access the web panel in CentOS?

The default link and port to log in to cPanel are like this: https://hostname or server IP:2087 | Instead of hostname or server IP you should put yours.

  • Who uses cPanel?

cPanel is the world’s most popular web hosting control panel and most of the hosting companies use it and also everybody can use it on a server or shared hosting.

  • How do I change the hostname in CentOS?

In WHM panel there is a section by the name change hostname to change the hostname.

  • Do I need cPanel for WordPress?

In order to use WordPress, you don’t have to run it on Cpanel and it can run on any web-server.

  • How do I find my hostname in CentOS?

In your Linux server type hostname and press enter then you will see your hostname.

/usr/local/cpanel/cpkeyclt

Be free to share your opinions and questions with us in the comments section!

featured
Share. Facebook Twitter Pinterest LinkedIn Tumblr Email
The Geek
  • Website

Related Posts

WordPress Two-Factor Authentication (2FA): what is it & using it on your site

January 26, 2023

The biggest source of WordPress vulnerabilities

January 26, 2023

15 ways to secure your WordPress site

January 19, 2023
Add A Comment

Leave A Reply Cancel Reply

Editors Picks

WordPress Two-Factor Authentication (2FA): what is it & using it on your site

January 26, 2023

The biggest source of WordPress vulnerabilities

January 26, 2023

15 ways to secure your WordPress site

January 19, 2023

What Is Imunify360? How Does It Enhance Website Security?

January 2, 2023
Top Reviews
Advertisement
Demo
Horizen.ro – Tech Blog & Server environment
Facebook Twitter Instagram Pinterest Vimeo YouTube
  • Home
  • Hosting Tutorials
  • Cpanel & WHM
  • Cookie Policy (EU)
© 2023

Type above and press Enter to search. Press Esc to cancel.

Manage Cookie Consent
We use technologies like cookies to store and/or access device information. We do this to improve browsing experience and to show personalized ads. Consenting to these technologies will allow us to process data such as browsing behavior or unique IDs on this site. Not consenting or withdrawing consent, may adversely affect certain features and functions.
Functional Always active
The technical storage or access is strictly necessary for the legitimate purpose of enabling the use of a specific service explicitly requested by the subscriber or user, or for the sole purpose of carrying out the transmission of a communication over an electronic communications network.
Preferences
The technical storage or access is necessary for the legitimate purpose of storing preferences that are not requested by the subscriber or user.
Statistics
The technical storage or access that is used exclusively for statistical purposes. The technical storage or access that is used exclusively for anonymous statistical purposes. Without a subpoena, voluntary compliance on the part of your Internet Service Provider, or additional records from a third party, information stored or retrieved for this purpose alone cannot usually be used to identify you.
Marketing
The technical storage or access is required to create user profiles to send advertising, or to track the user on a website or across several websites for similar marketing purposes.
Manage options Manage services Manage vendors Read more about these purposes
View preferences
{title} {title} {title}