
You don’t need us to tell you that cloud storage is a very useful thing. And, thanks to ownCloud, even those of us who don’t trust big companies with our data can enjoy the convenience of cloud storage. ownCloud is one of the best programs for running a cloud storage system on your Raspberry Pi, and with the help of it and DietPi, it’s easy for any Pi user to have their files at their fingertips anywhere they go. Sounds great, right? So how do you do it? We have you covered. Here’s how to set up a Raspberry Pi ownCloud server.
How to set up a Raspberry Pi ownCloud server
There are plenty of ways to get cloud storage. You can turn to services like DropBox or cloud services from major companies like Apple and Google. But you don’t necessarily have to pay money to get reliable cloud storage – and you don’t necessarily have to trust giant companies like Apple with all of your private files. You’re more than capable of replicating these services on your own. You’ll just need some storage (like an external hard drive) and a device. You’re reading The Pi, so you know where this is going: we’re going to use a Raspberry Pi. So grab your tools!
You’ll need all the usual stuff plus an Ethernet cable andan external storage device (optional, but recommended – if you’re going to set up ownCloud, you might as well give yourself plenty of storage space).
We’re going to install DietPi, a super-lightweight operating system for the Raspberry Pi. Then we’re going to use ownCloud that works on DietPi.
Step 1: Install DietPi on your Raspberry Pi
Your DietPi installation process is the same as with most other Raspberry Pi operating systems. Grab the disk image here, unzip it with the program of your choice (7-Zip will work), and then write the disk image to your microSD card with the program of your choice (Win32 Disk Imager on PC and Disk Utility on Mac will both work).
Step 2: Write down your IP address and log into DietPi
With DietPi on the microSD card and your Pi connected to the internet via Ethernet cable, go ahead and boot up. DietPi should print out your IP address even before you log in. We’re going to need that, so go ahead and write it down.
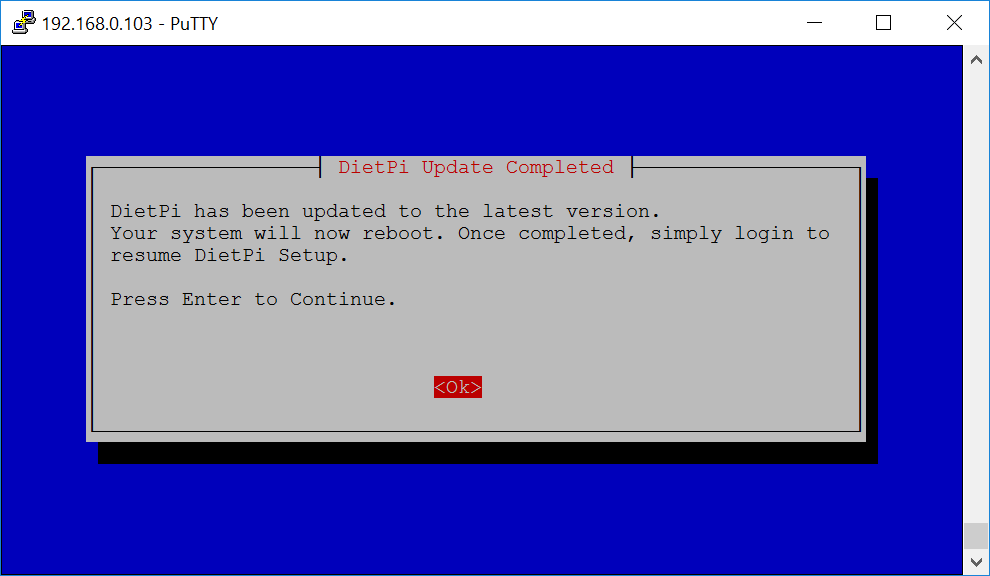
Log in with the username root and the password dietpi (you can do this on the Raspberry Pi itself or just SSH in from another computer). It’s your first time logging in, so DietPi will update automatically. Wait that out and then hit enter to reboot. Then log back in!
Step 3: Install ownCloud
Once DietPi has rebooted and you’ve logged back in, you’ll be able to install new software – and that’s exactly what we’re going to do.
The program we want is called ownCloud.
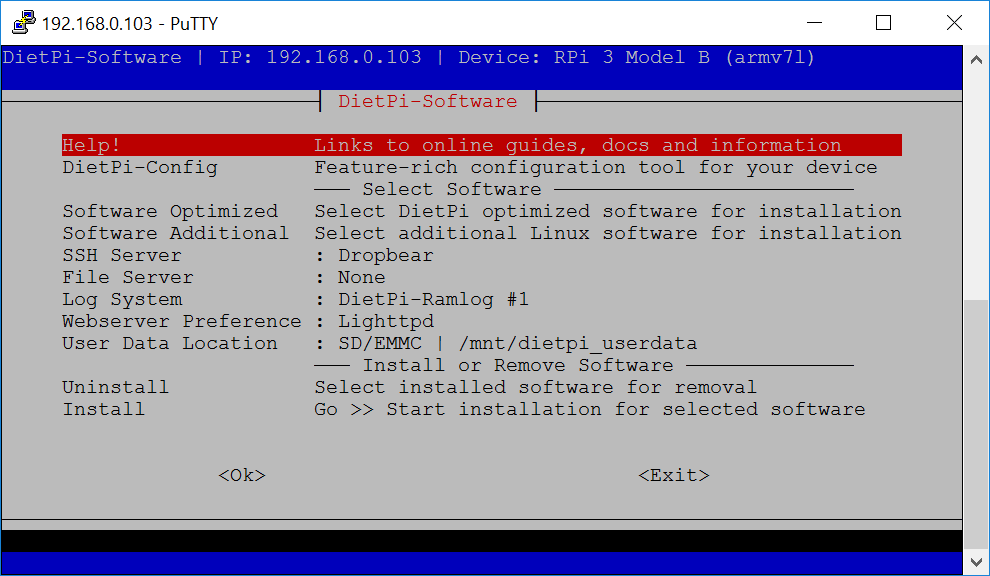
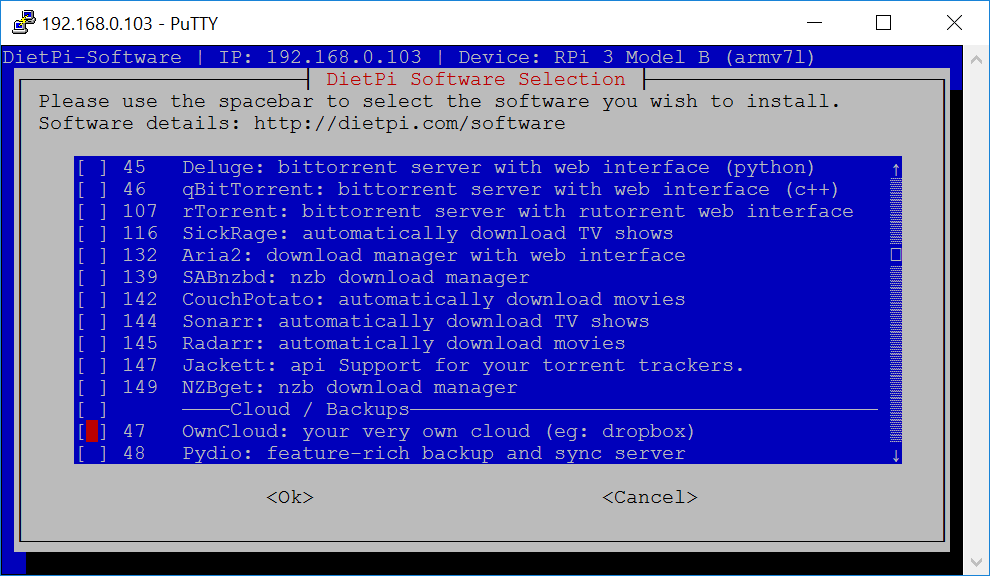
In the DietPi menus, navigate to Software Optimized – Select DietPI optimized sogtware for installation and then to 47 OwnCloud: your very own cloud (eg: dropbox). You’ll use the space bar to select and Enter to confirm.
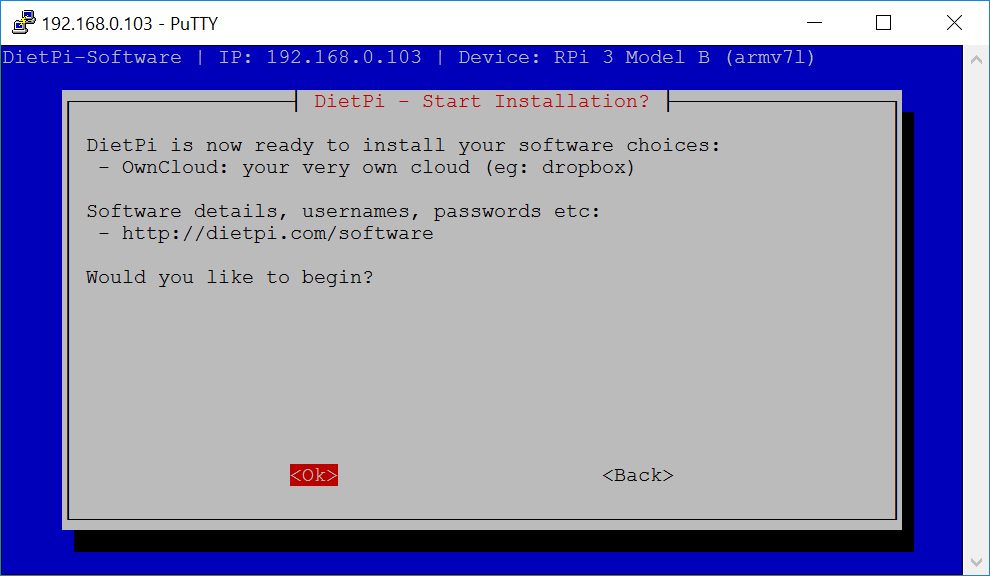
After selecting ownCloud, you’ll be sent back to the menu you started from. Navigate to Install – Go >> Start installation for selected software and press Enter. On the following screen, select OK and hit Enter again to indicate that you’d like to begin.
DietPi will install ownCloud and then reboot (yes, DietPi really likes to reboot).
Step 4: Access the ownCloud web interface
Let the Pi reboot and then put it aside for a moment. Hop on another device and open a browser. Remember that IP address for your Raspberry Pi? The one you wrote down? Go ahead and type that in the address bar of your browser between http:// and /owncloud. For instance, mine looked like this: http://192.168.0.103/owncloud/.
What you’ve types here is the URL for your ownCloud web interface. And the first thing the web interface will do is run the setup wizard.
The setup wizard will prompt you to create an admin account. Choose your username and password, then take a look at the apps that ownCloud recommends you download. Take the program’s advice.
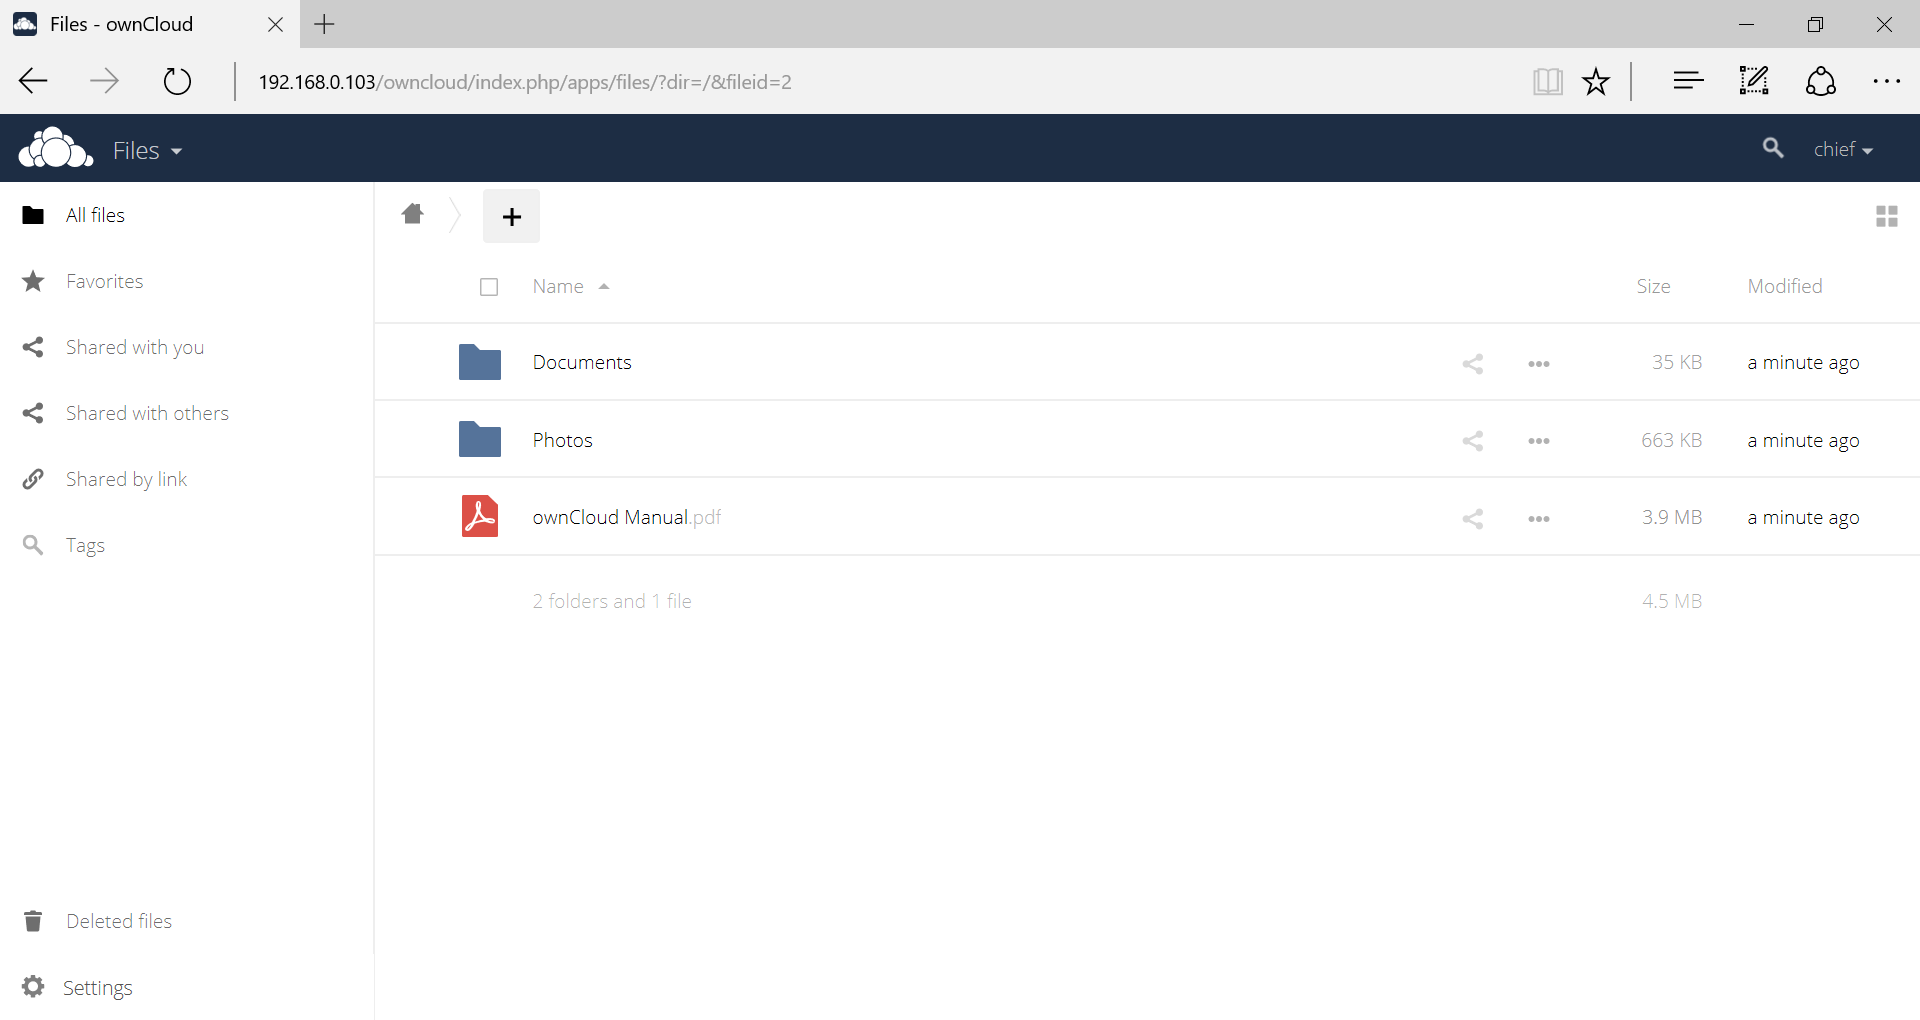
After all this, you’ll find yourself logged in to the ownCloud web interface.
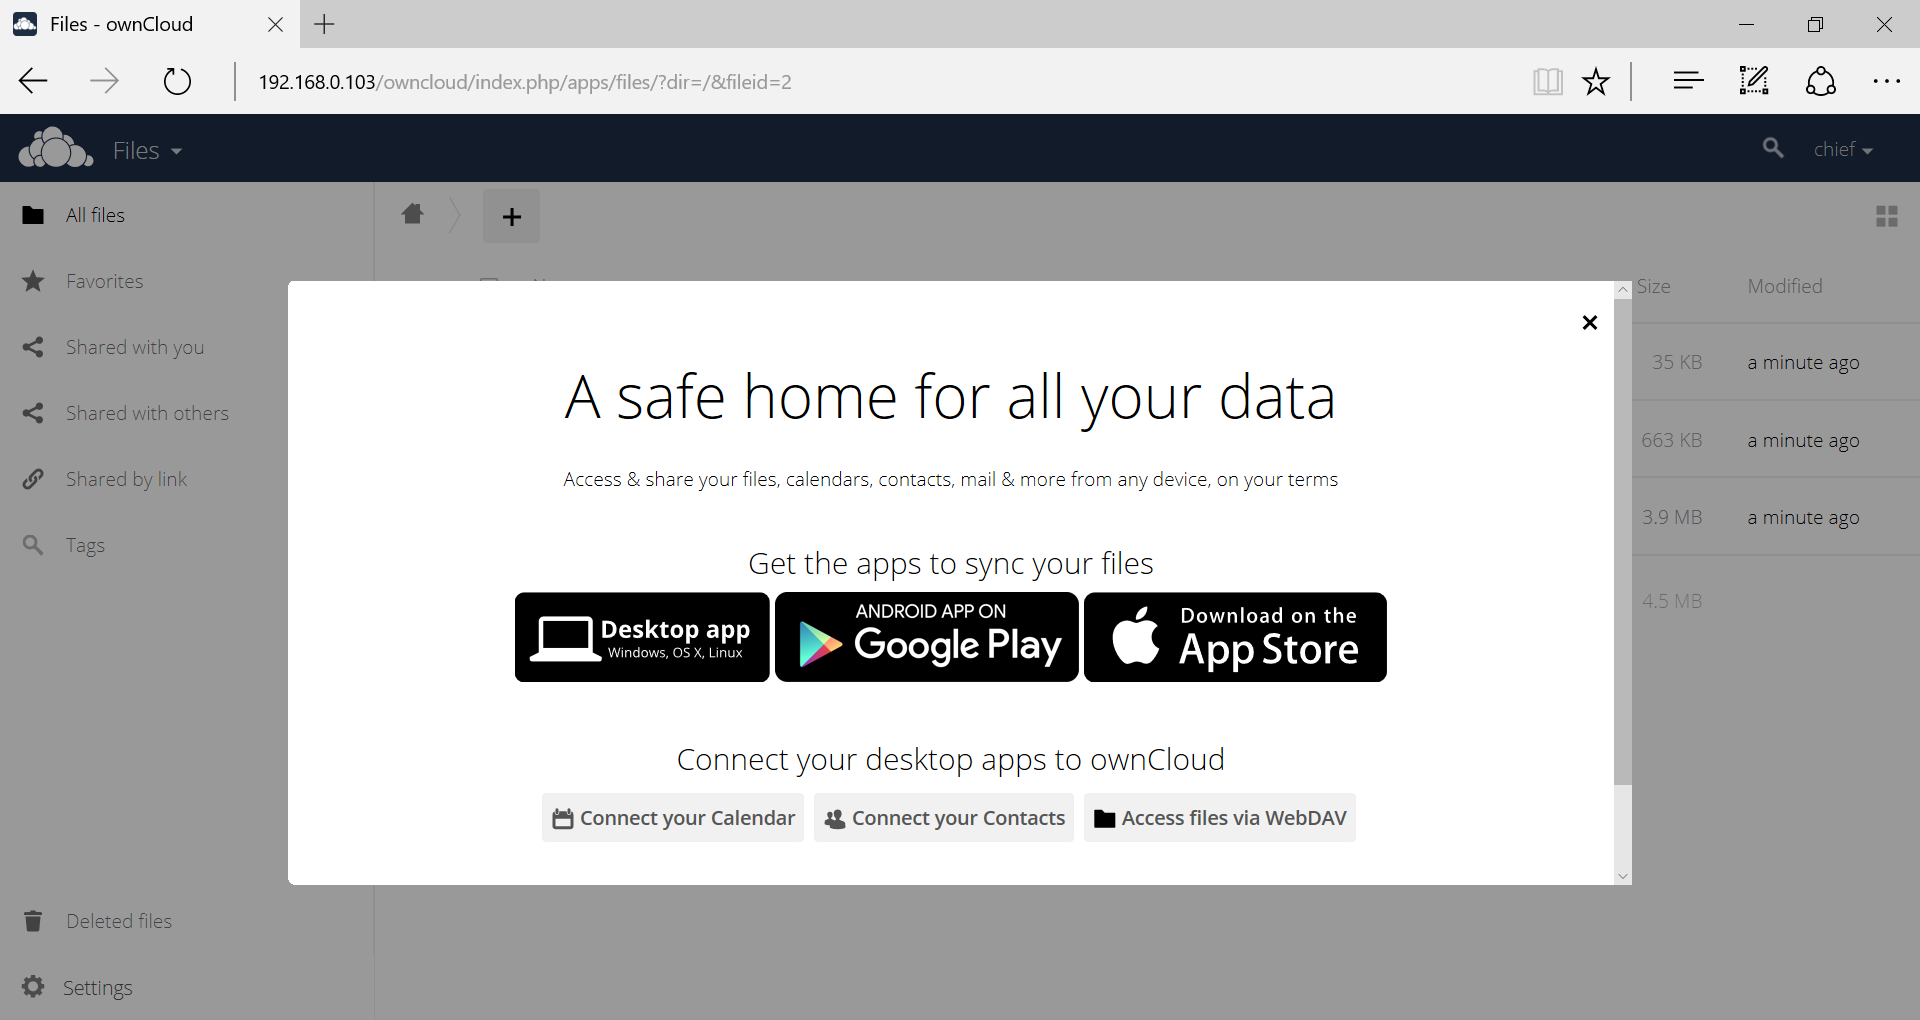
Step 5: Use your storage!
Your Raspberry Pi ownCloud server is now set up and you can start uploading files in the storage by clicking the plus symbol above the list of files and choosing Upload. You can hop into this interface with your browser on just about any device on your network, as well as through the ownCloud smart phone apps. You’ll need your username and password, of course, and you’ll have to make sure your Raspberry Pi is on when you need to access your cloud.
But wait – on your network? Your cloud storage is pretty limited if you can only use it in your own home. Let’s do just a couple more steps and make our cloud storage available anywhere.
Step 6: Set up port forwarding
If you want to access your ownCloud server from outside your home network (and you almost certainly do), you’ll need to set up port forwarding in your router’s admin interface and configure trusted domains in ownCloud’s settings.
Let’s take care of port forwarding first. Go ahead and access your router’s settings by typing your router’s IP address into a browser address bar. We’ll all have the same goals here, but our settings may look a little different. For instance, my router’s settings look like this:
Service Port: 80
Internal Port: 80
IP Address: [your Pi’s IP address]
Protocol: TCP
Common Service Port: HTTP
Change your settings so they match ours above (again, they won’t necessarily be in the same order or layout). Where we have [your Pi’s IP address], you should, of course, put your Pi’s actual IP address. This is the IP address you wrote down way back in Step 2.
That takes care of the router. Now for ownCloud.
Step 7: Configure trusted domains
With port forwarding set, ownCloud’s trusted domains setting is the last obstacle to enjoying cloud storage from outside your home network.
Hop on your Raspberry Pi and log into DietPi. Enter this command:
sudo nano /var/www/owncloud/config/config.php
We’re going to edit this config file and add your public IP address to the list of trusted domains. My config file looks like this:
<?php
$CONFIG = array (
'updatechecker' => false,
'instanceid' => 'oczs3u2vnel0',
'passwordsalt' => 'nRmHalWK8DQBNJ2bUicukJsg8Ys4Y2',
'secret' => 'fMP9Uix9Ub965r2ukRzKVgmn0ZK8GRSWWo5l1x9zseRZFkxS',
'trusted_domains' =>
 array (
 0 => '192.168.0.103',
 ),
'datadirectory' => '/var/www/owncloud/data',
'overwrite.cli.url' => 'http://192.168.0.103/owncloud',
'dbtype' => 'sqlite3',
'version' => '9.1.6.2',
'logtimezone' => 'UTC',
'installed' => true,
);
See that part I put in bold? You should have a similar section in yours, and that’s were you’re going to make our changes. Right above where the parentheses close, add a new line that reads 1=>'[your public IP address]’ – (where the part in brackets is, of course, your actual public IP address and not just those words). If you don’t know your public IP, you can just check by asking Google “what is my IP address?” Once you’ve got it right, the section will look like this:
'trusted_domains' =>
array (
0 => '192.168.0.103',
1 => '[your public IP address]'
),
Our new line is in bold in this example.
Now we’re all set. Exit the editor and save the config file by pressing Ctrl+X, then Y, then Enter.
Now you can log in to your ownCloud server from outside your home network by browsing to http://[your public IP address]/owncloud/. Note that we’re using the public IP address now instead of your Raspberry Pi’s IP address. That’s it – you now have cloud storage that works wherever you are!